
The Only Actual Easy Guide on How to Create a Custom Google Map and Embed it on Your Website, Share It, or Just Look at How Pretty It Is.
You may have noticed despite every other set of directions screaming, “This is so easy!” It’s not because they skip steps and assume you already know what you’re doing. We won’t assume that, because how could you know what you’re doing… unless you are Google… are you Google?
411 Locals is here to help:
1. You need a Google account to do this. If you don’t really want an account, just make up the information on their “create an account” page. You can even start a new Google email if you’re really serious about not having another account to keep track of. Just go here. (Right click and select “New window” so you can read these directions while you’re making your map.)
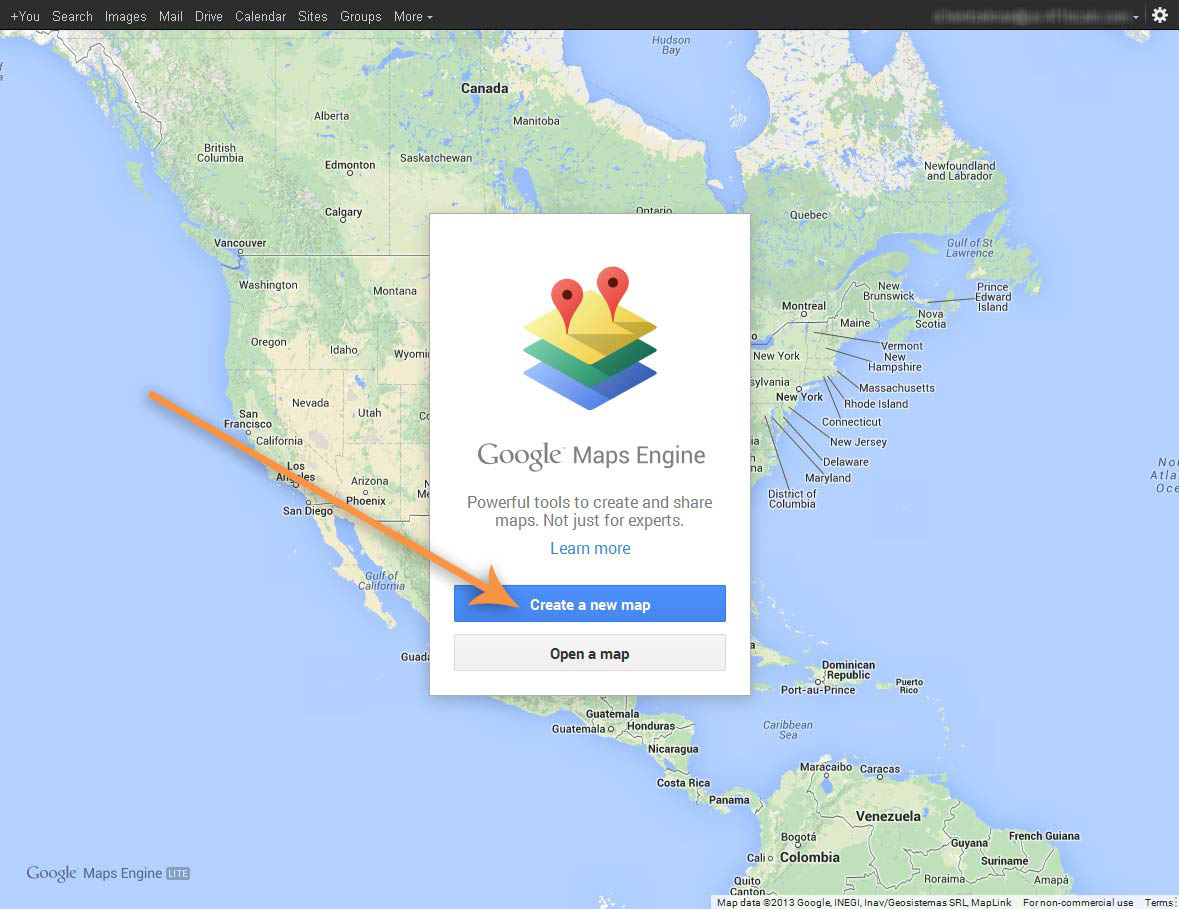
2. Once you have your account, one you plan on using or one you’re going to forget about later, don’t sign out or anything, just got to https://maps.google.com/. Don’t worry, no passwords or anything, you’re set.
3. You’ll see a map of the U.S. or of the world or your neighborhood on your right, and you can click around and explore if you want. Once you’re done messing with it, take a look at the options on the left side of your screen. As of now it looks sorta like this: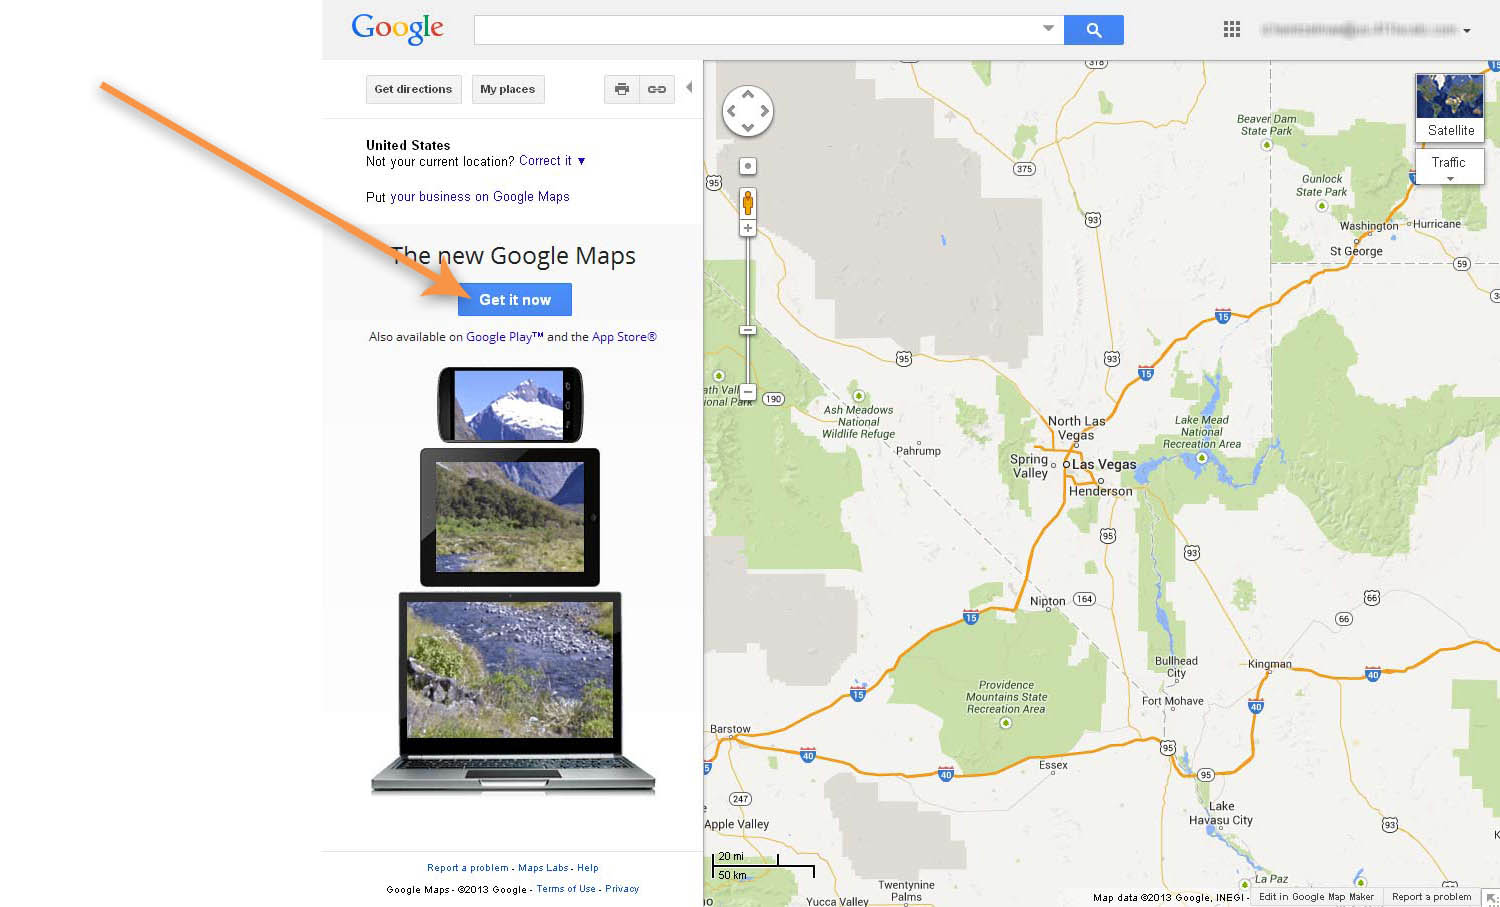
(Hard to read here but you’ll see it on your screen.)
4. Click on “The new Google Maps”—the Get it now button.
5. It might take a second, but another map will pop up
6. There should be a “Get Started” button right in the middle of the map, or some button to indicate you indeed would like to get started. Click whichever button lets you continue and you’ll go to a screen that looks like this:
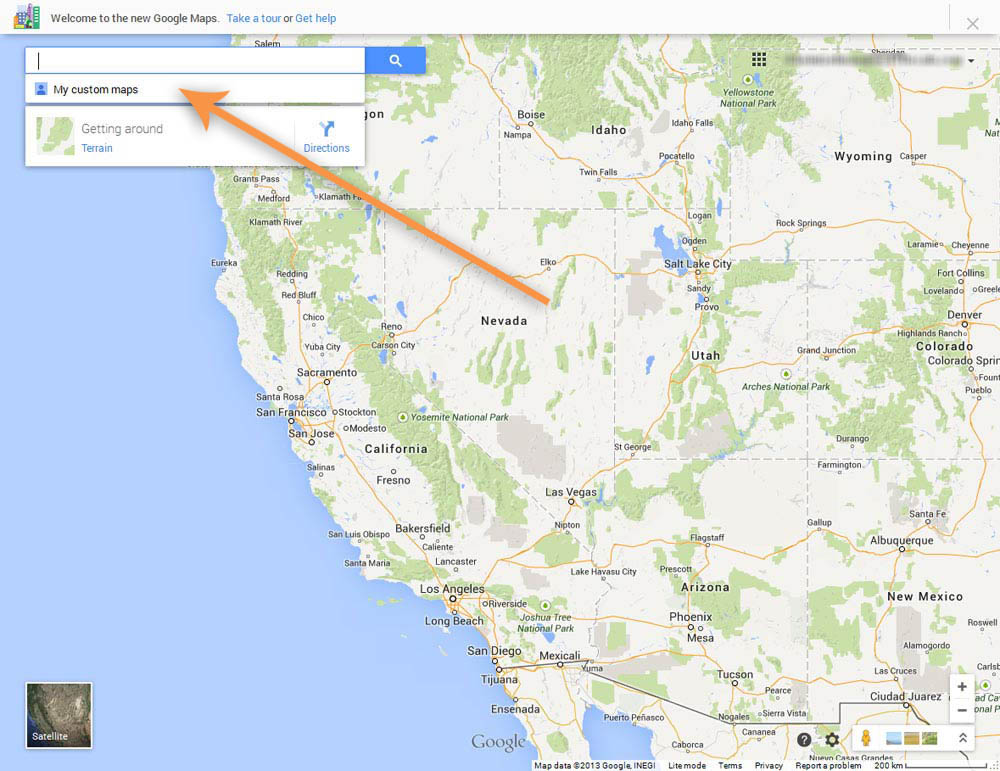 (Well it won’t look exactly like this probably, but it will be a map with that “My custom maps” icon we’re pointing at.)
7. Next! Click directly on the words “My custom maps.” We know what you’re thinking… “Yeah but I don’t have a custom map yet, and plus the letters aren’t blue or anything indicating I even can click on it.” But you can. So float the mouse over the words that don’t seem like they would lead anywhere and which make no sense for your specific purpose, and click on it.
8. Okay did you click on it? Great. If you don’t see this thing we’re pointing at below, click it one more time and it will show up:
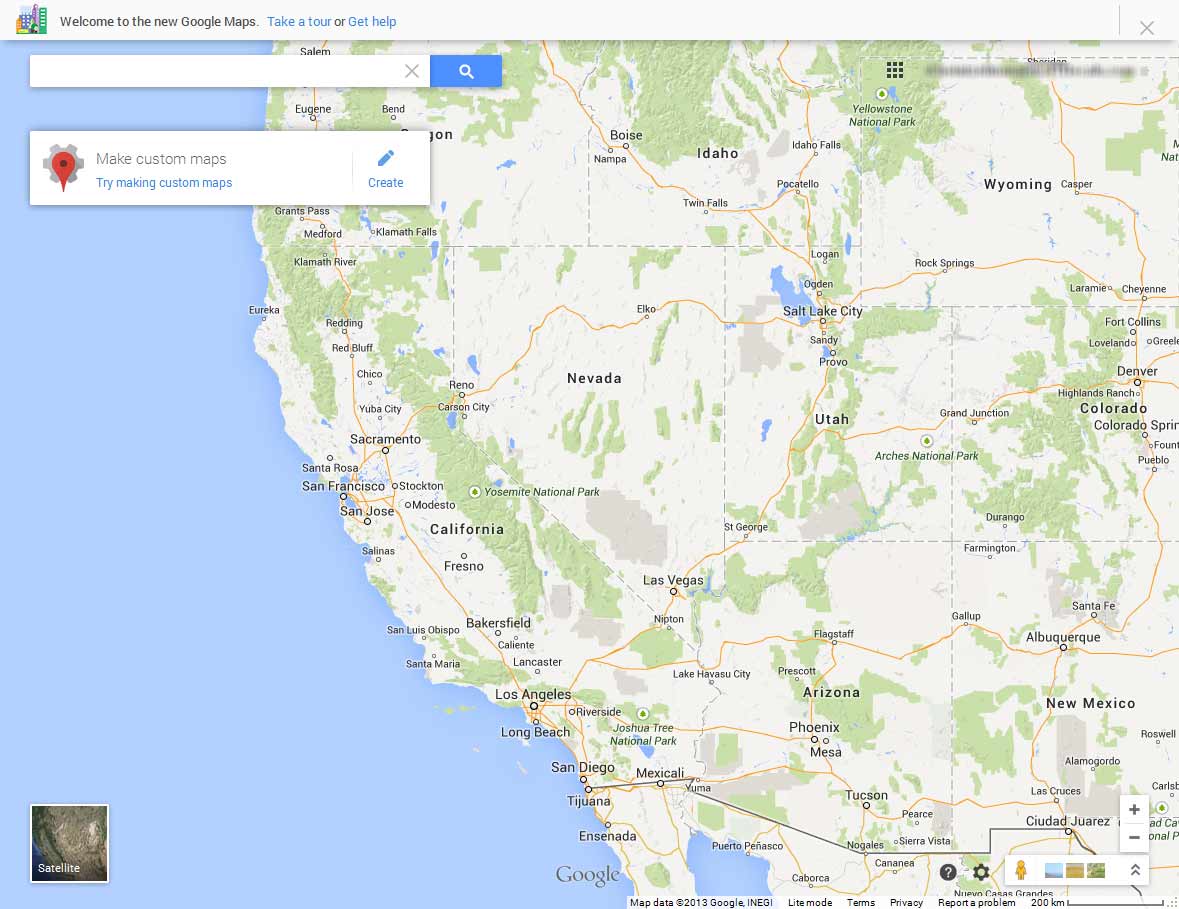 (You will notice that this thing we are pointing at disappears if your mouse is not hovering over it. If it suddenly disappears, just float your mouse over it and you’ll see it again.)
9. Click on “Try making custom maps” and you will get this screen:
 (“What the Blow Fish! I said I want to make a map! HooverDamn you Google!!!!!!!!!!!!!!!” We hear you, but we can fix this.)
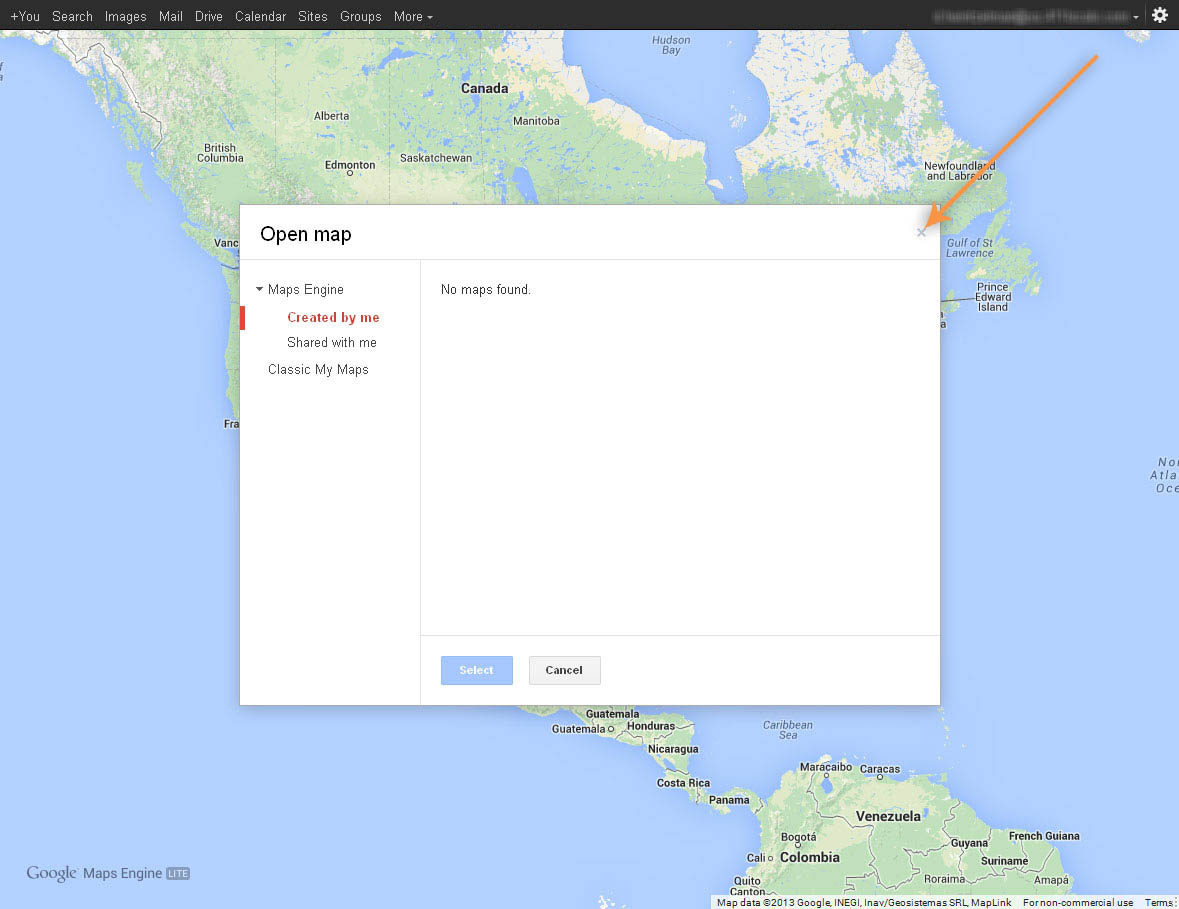
10. You will see yet another completely pointless screen with no option to do what you wanted to do at all and you’ll be like, “Who on earth thinks this makes sense?” and the answer will be like no one on earth except whoever decided to do it this way.
11. Exactly where that orange arrow is pointing, click the X and close that window. Underneath, hidden like a pirate’s treasure, will be the booty you’ve been looking for:
 (Despite now bypassing 3 screens in which you indicated you don’t want to open any current map, it will throw that out there one more time. Ignore that and click where the arrows are pointing.)“
12. When exactly is this supposed to start getting easy?” Step 12 is the part where you ask yourself that and the answer is no time soon but just stay with us and we’ll get there. Just make sure you clicked where those arrows above are pointing.
13. You’ll see this:
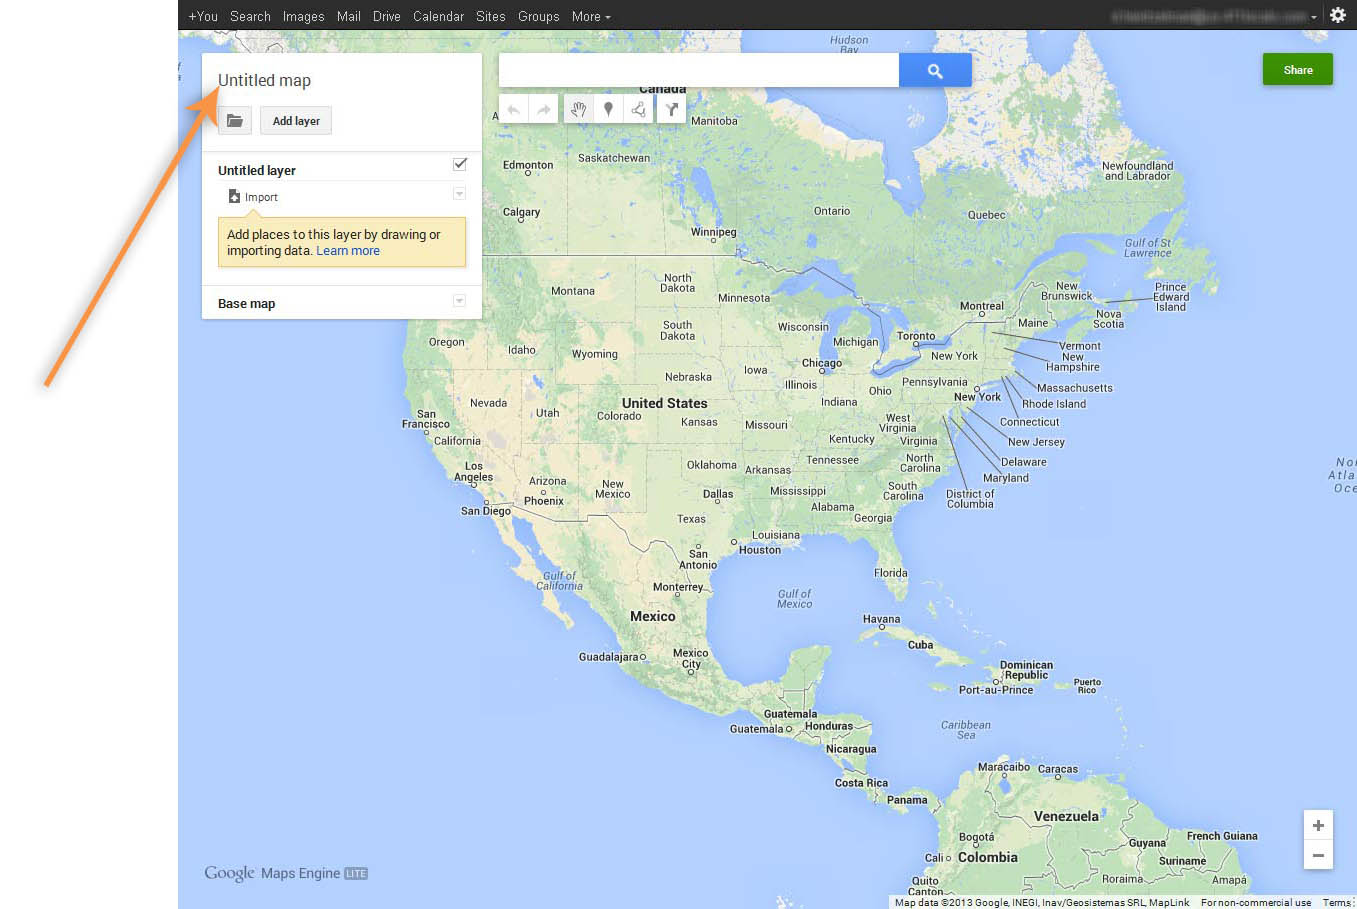 14. Give your map a name by clicking where the Orange Arrow is pointing, “Untitled Map.”
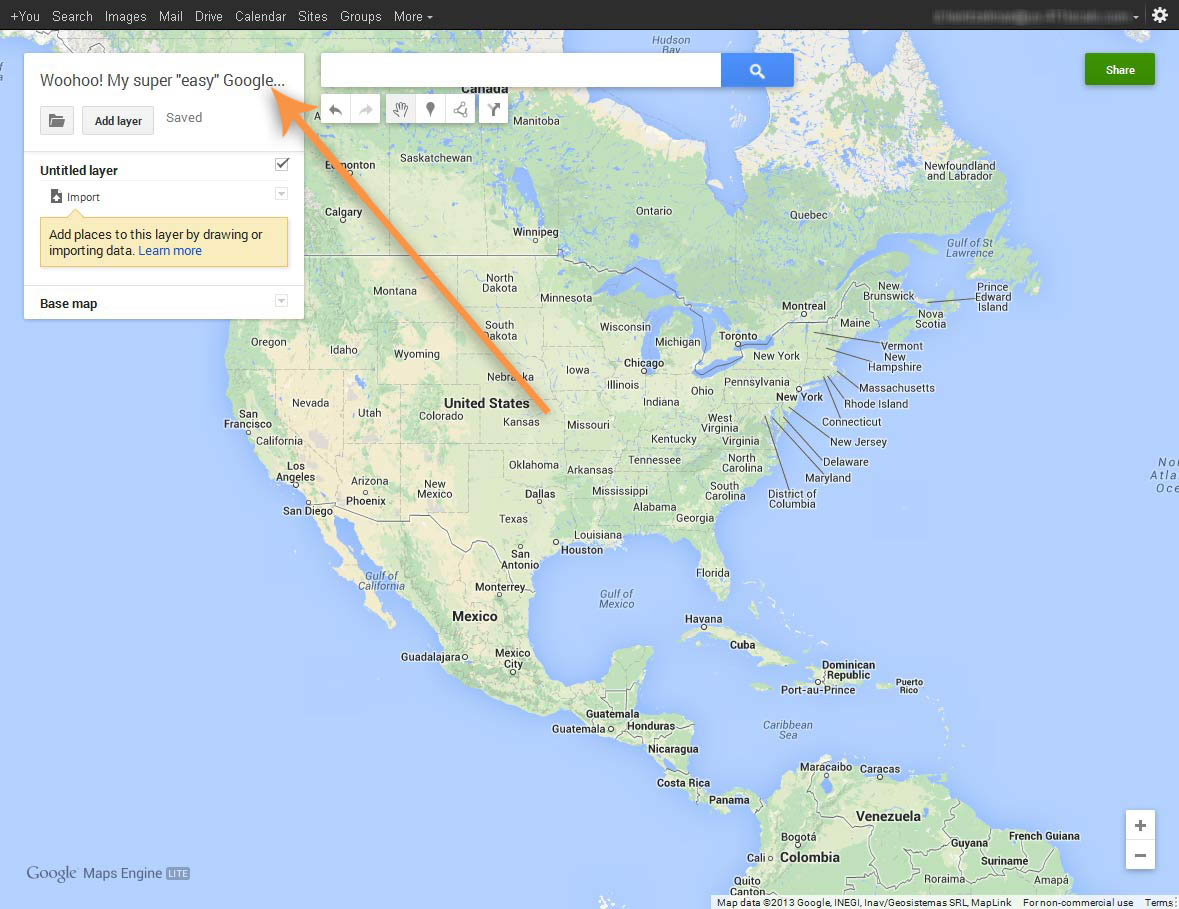 (We named ours “Woohoo! My super “easy” Google Map!” because we’re excited how simple this is…)
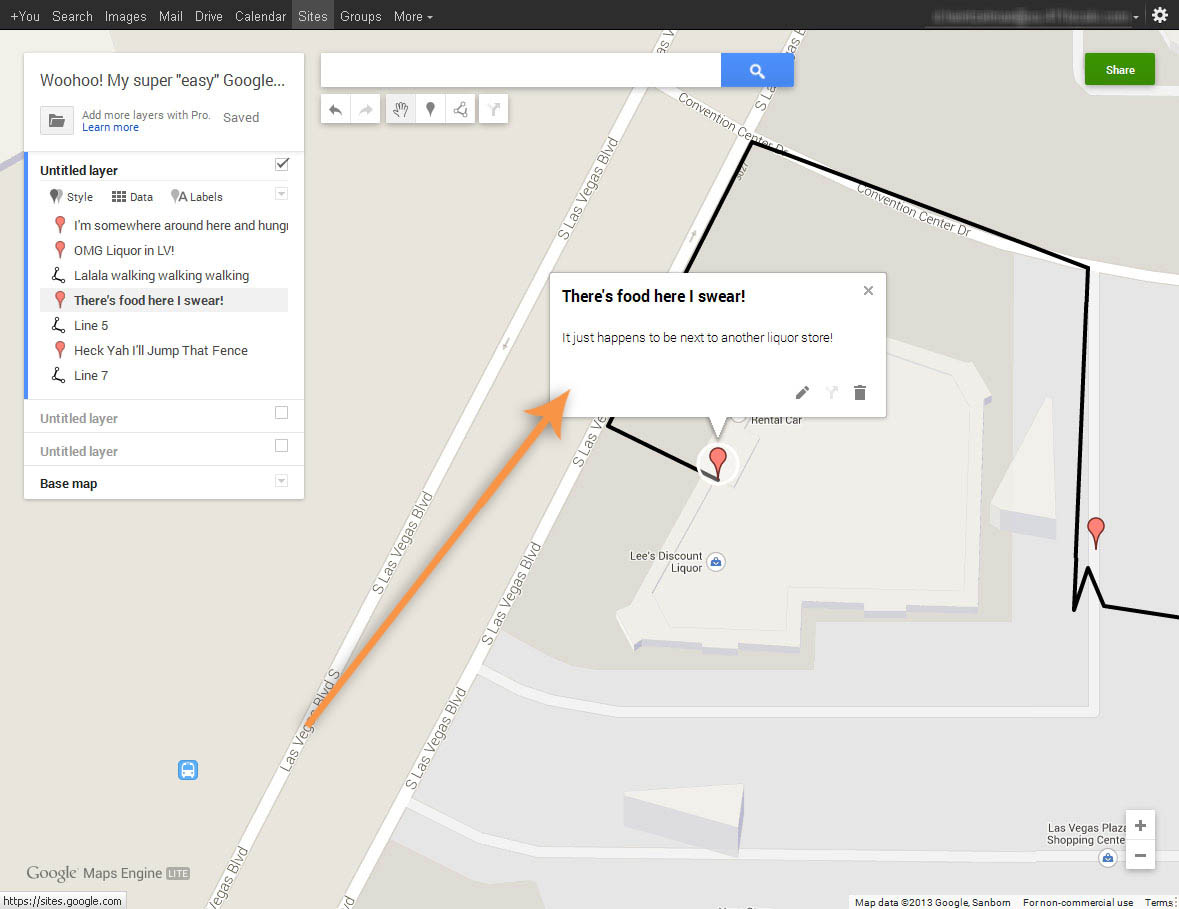
15. Okay, now just get to the place on earth where you want to make a map and zoom in.
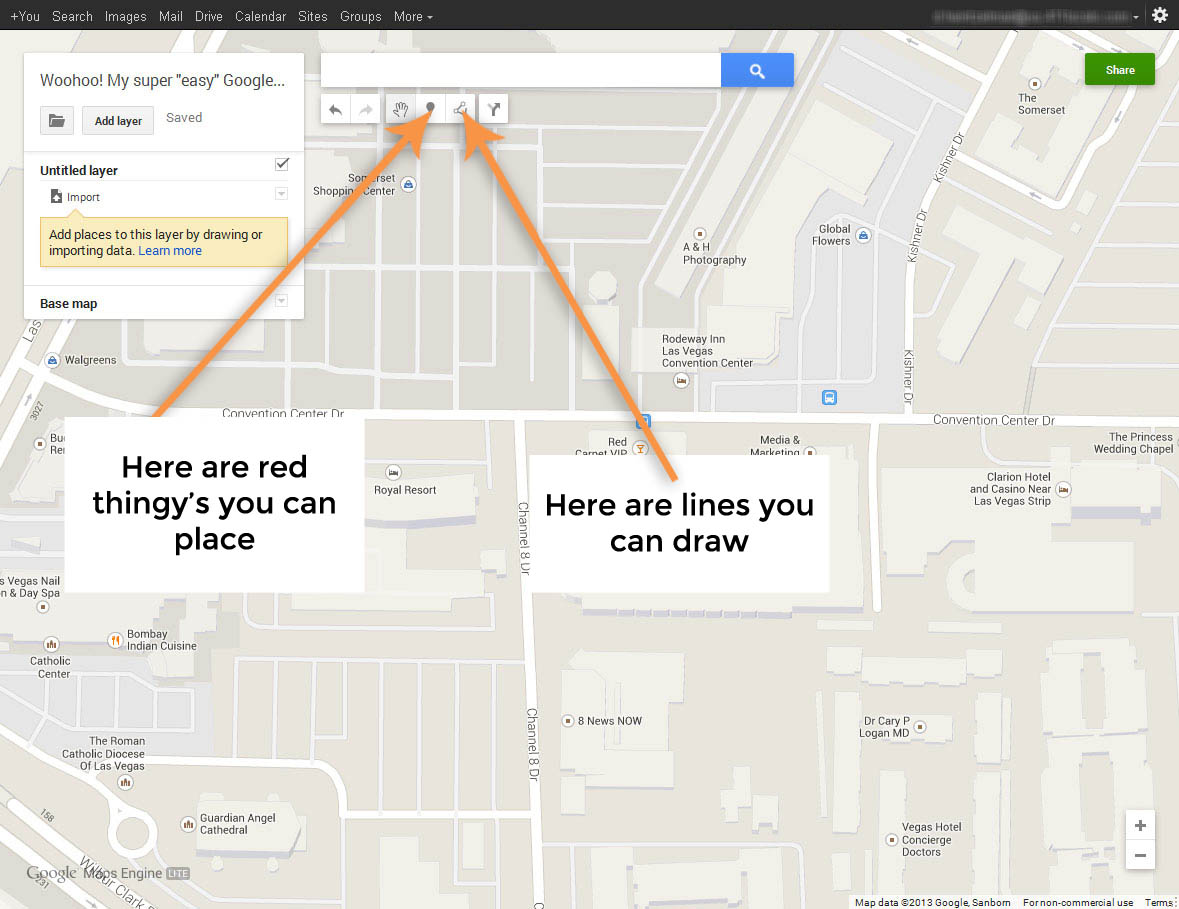 (This is Convention Center drive in Las Vegas. It’s in between the Convention Center and Las Vegas Blvd right by the strip. We’re in a building around here that you will see in a sec.)
16. Okay, we’re in the right area, get your map all set where you want it. It will look a lot clearer on your screen.
17. Now let’s start making our map!
 18. Those arrows point to the items you will probably use most often, those red bubble arrows and the lines you draw for directions.
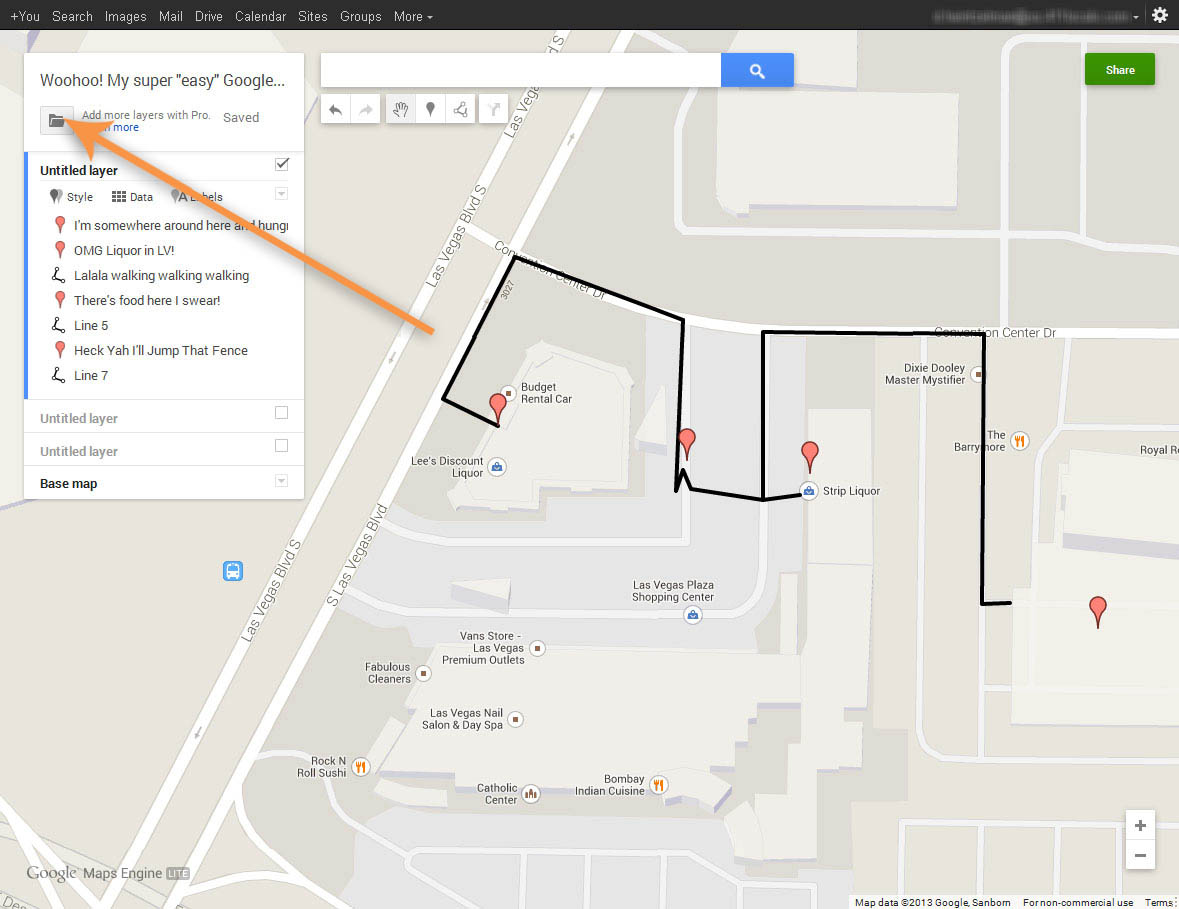
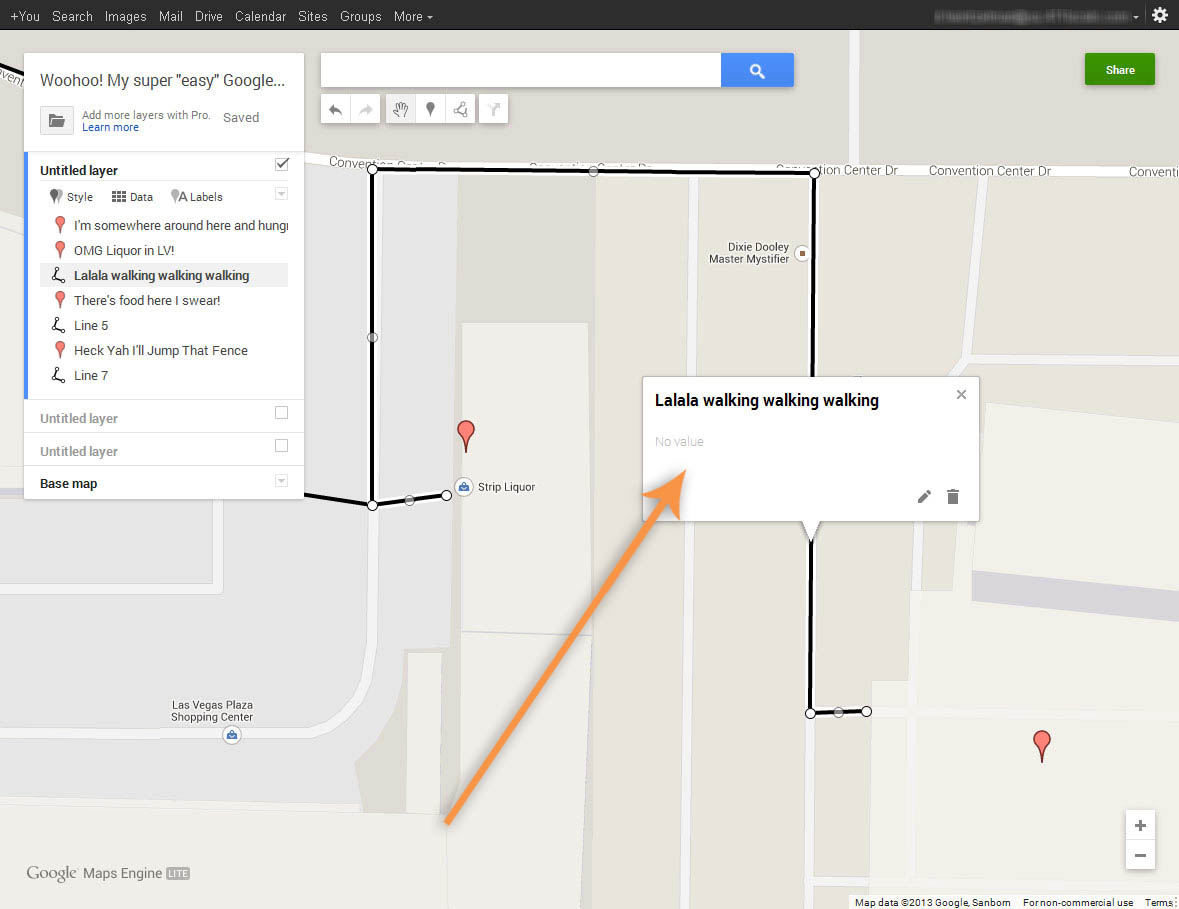
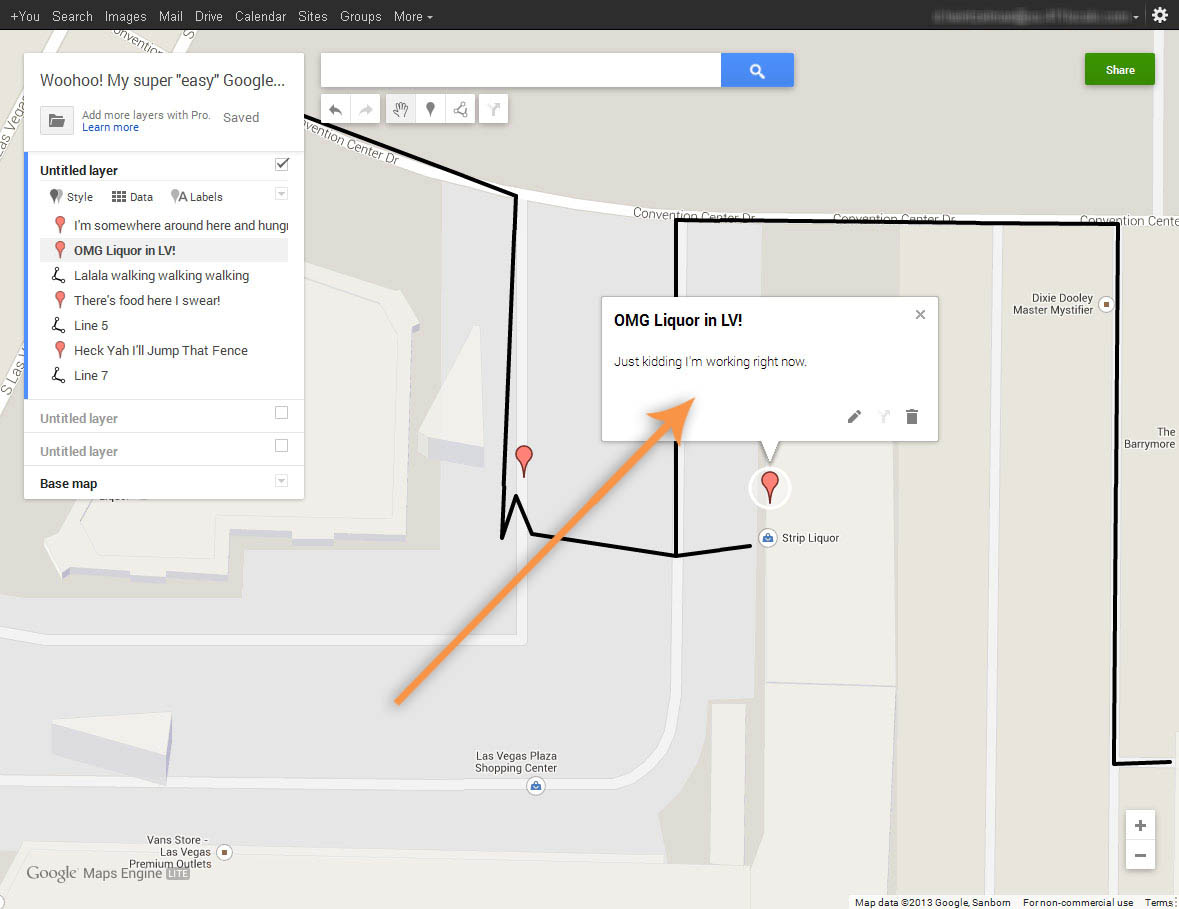
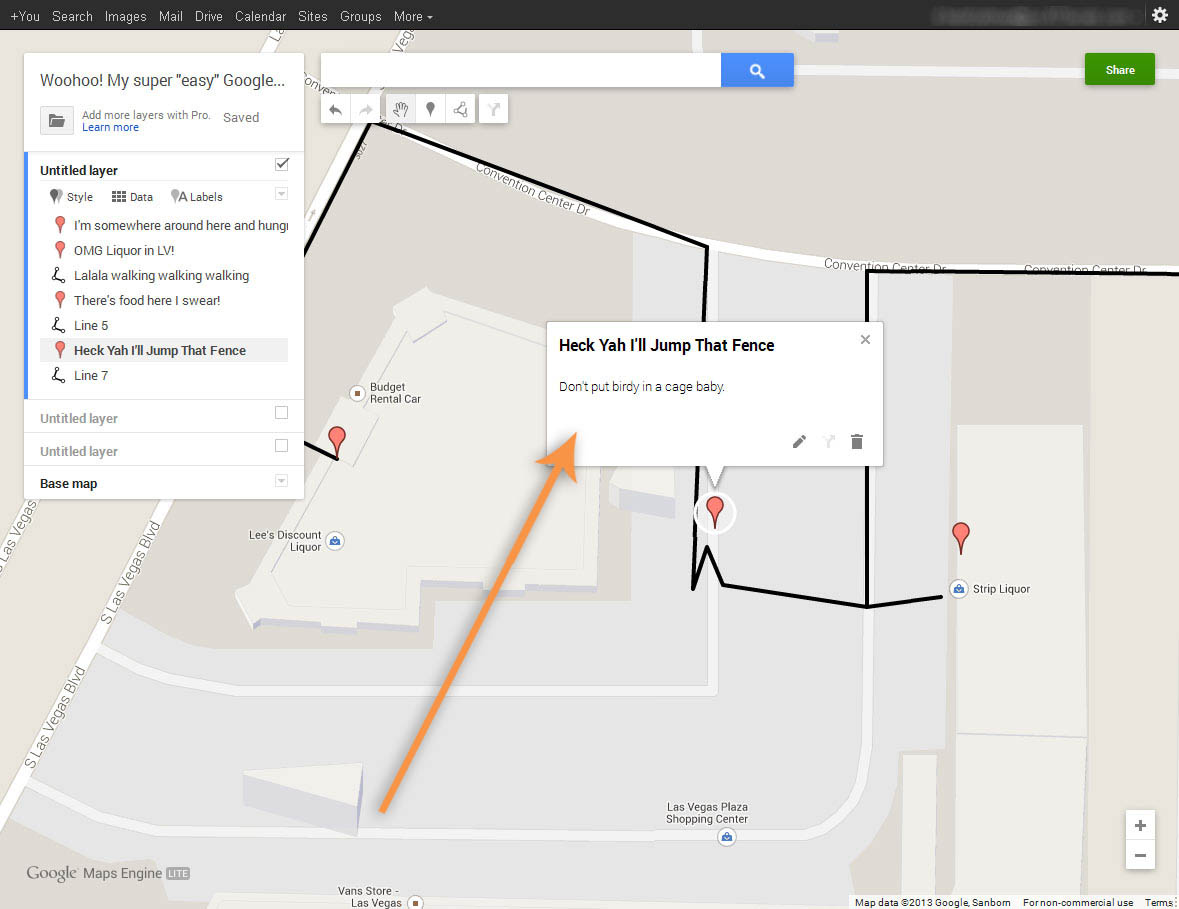
19. In addition you can title each line you place and each little red dot like this: 
 (Quite the adventure. Okay there is a little bit more though.)
20. You can do quite a few more things with those little buttons but check out this folder as well: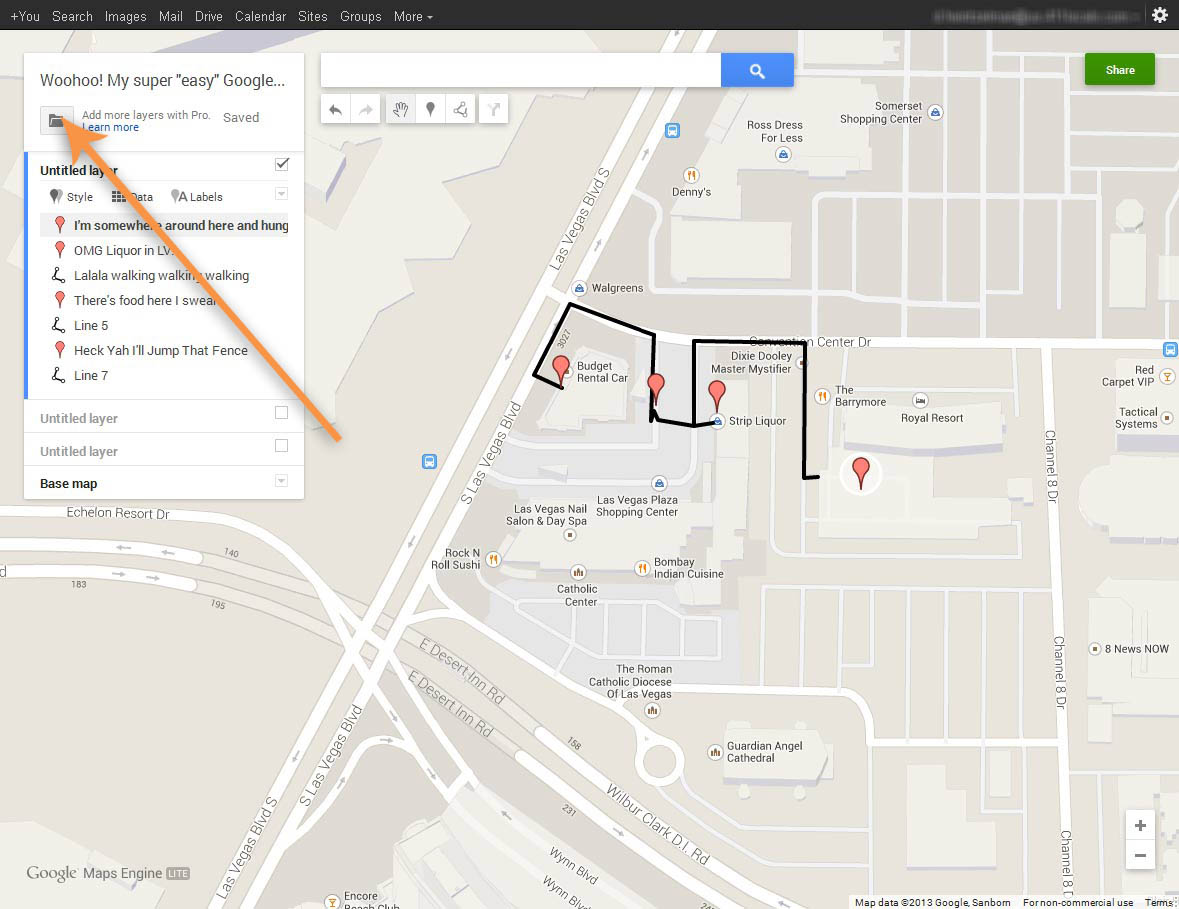 21. When you click on that folder you have several options, including “embed to website” which is a handy tool.
 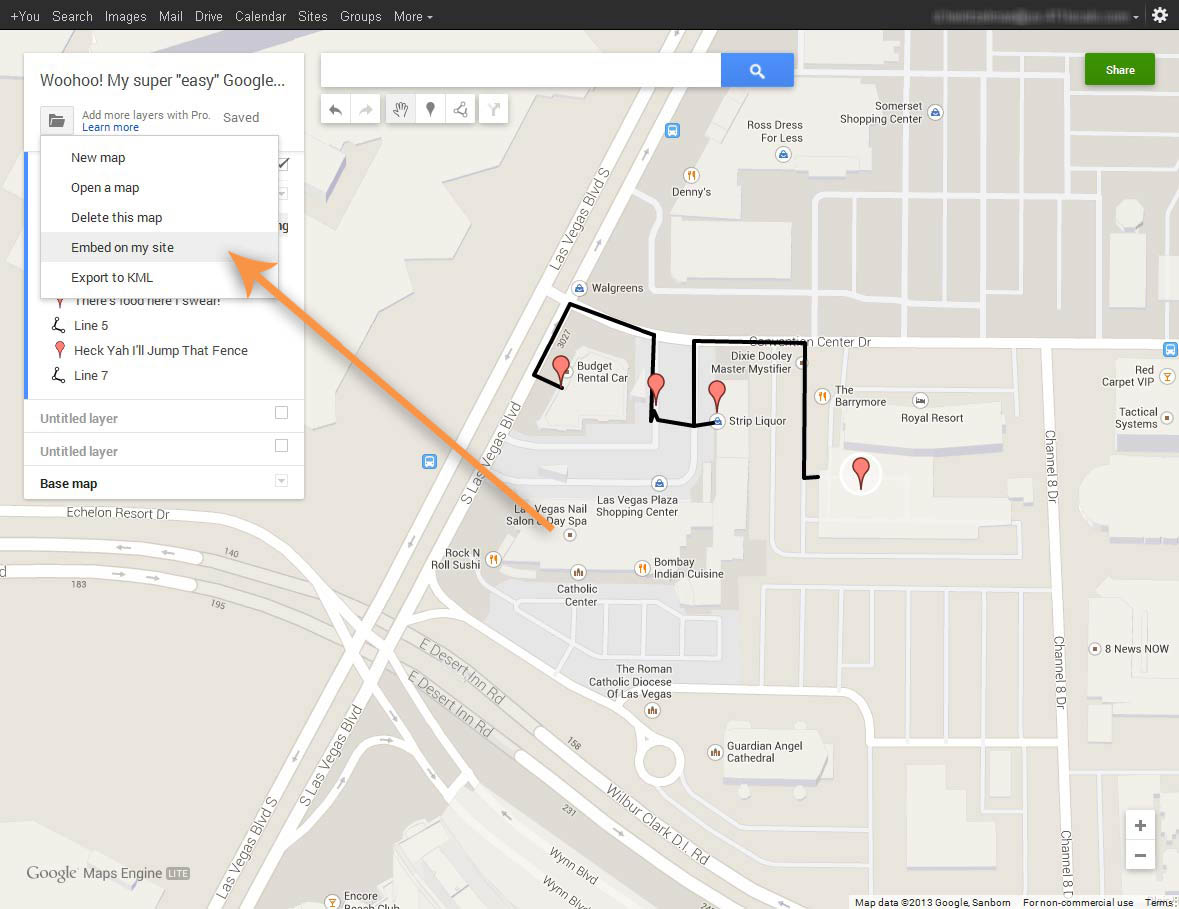 22. First though you need to “Share” the map. This green button right here:
23. You’ll get this screen: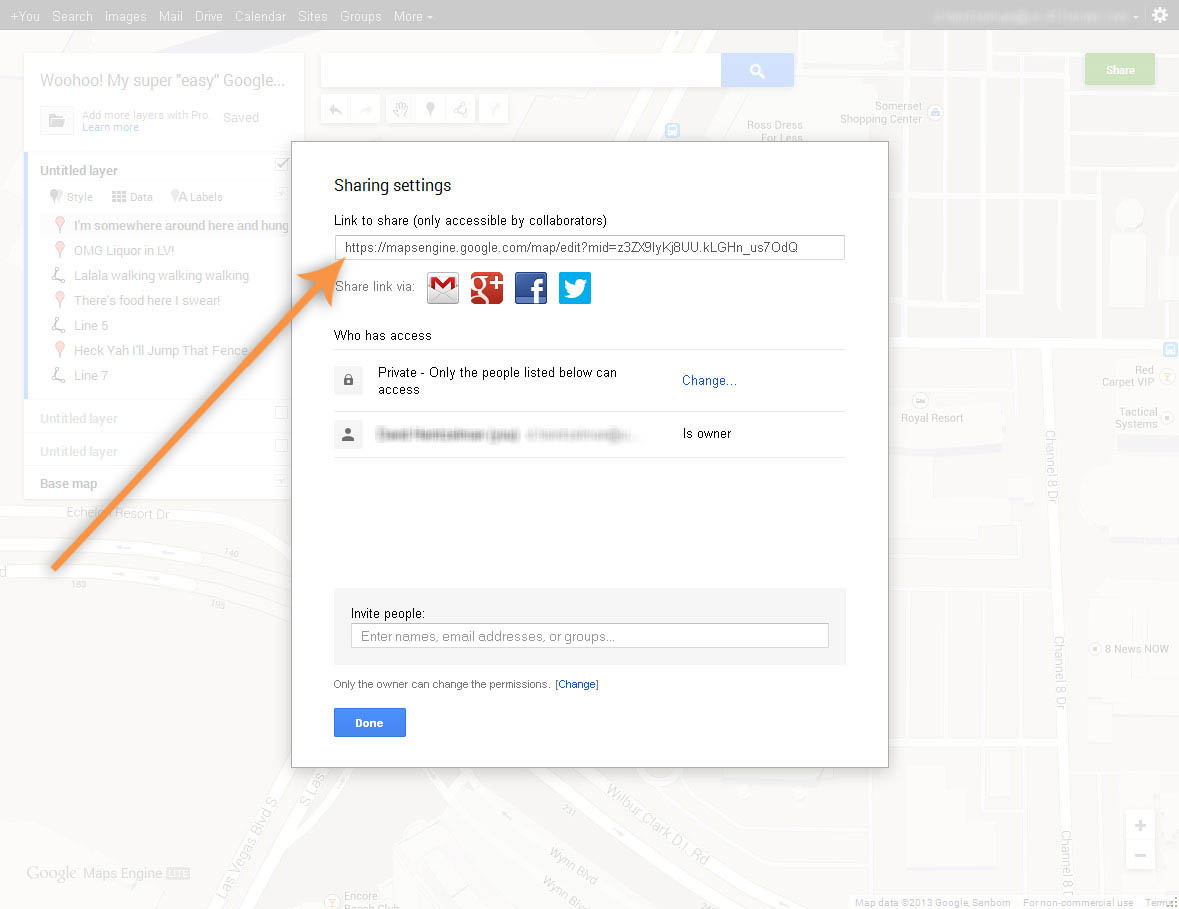 24. From here you can share it on those different social media sites, make it public, or keep it private so you are the only one who sees it. You can also invite people by entering their email address at the bottom.
25. The only way to get the code to embed it on your site however is to share it. I made this awesome map public so all the world can see… “Yay for more wasted internet space!” Anyway, it’s all for educational purposes.
26. Once you’ve gone through all of that, click “Done” at the bottom in blue there, head back over to the folder icon we had pointed to earlier, and click the “Embed” option once again. 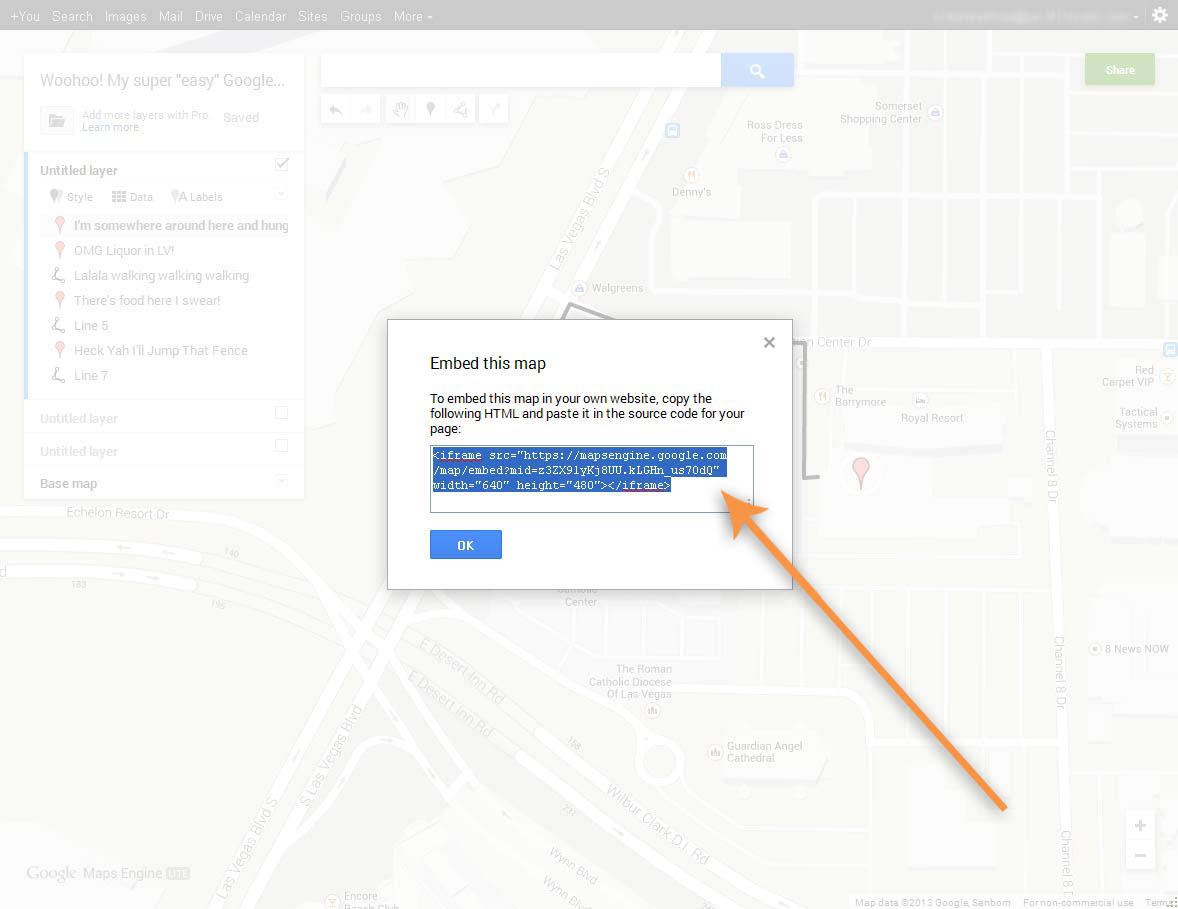
27. This screen will pop up. Hold down Ctrl+C to copy it. It will already be highlighted…
28. Now all you need to do is paste it into you website and you’re done! We suggest pasting it into notepad, Word, or some other file for safe keeping before you close this window.
29. Finally! If you created a new Google account for the sole purpose of embedding this map “Sign Out” by clicking your email address, which appears on the top right corner, and selecting “Sign Out.”
Alright! We got through it together! It’s not the destination it’s the journey! Two roads in a yellow wood! Okay no more exclamation points!
Hi, we’re 411 Locals and we like helping small and medium-sized businesses get more customers.
You don’t have to hire us to take advantage of the awesome tips we give you on this awesome blog, but we’d love to talk to you. Give us a call sometime (866-530-1325). We have an A-Rating from the Better Business Bureau and are a Certified Google Partner which means we use Google Best Practices to in all of our marketing endeavors on your behalf.